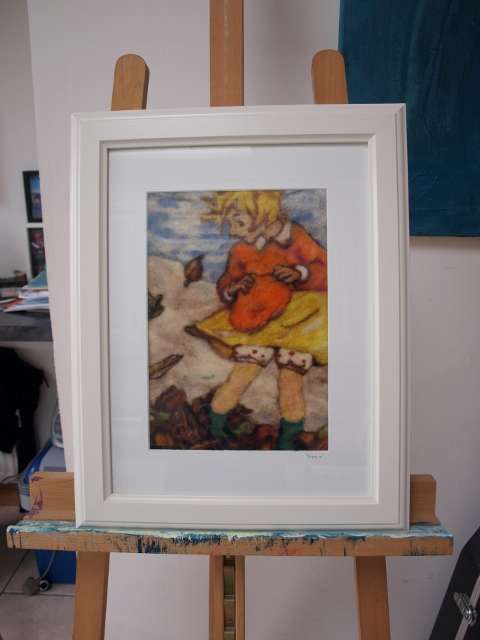
I’ll be adding to this soon, but here’s the HOW TO on the first one
TO MAKE THIS

YOU WILL NEED..
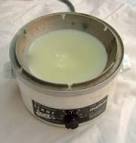
wax pot (insert)
(or double boil like chocolate but these pots will only be usefull for wax and EXTREME CAUTION is required)
hog hair (wax) and acrylic brushes (dye)
dyes (see how to make…https://ewesir.wordpress.com/tag/dye/ )
lots of newspaper / newsprint
iron
and all the materials for making a notice board in previous post https://ewesir.wordpress.com/2012/02/27/notice-board-easy-peesie/
ONE

TRACE IMAGE..you can see the drawing underneath in this image
CONSIDER WHERE YOUR LINES WOULD BE SO THEY CROSS OVER WHERE YOU WANT THEM
TWO
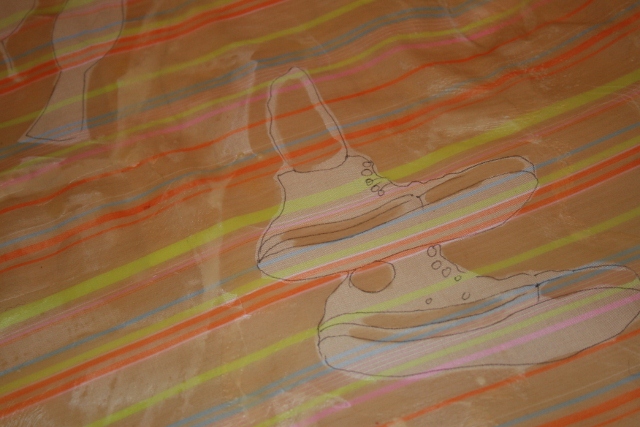
WAX EVERYTHING YOU WANT TO KEEP THE COLOUR OF THE FABRIC
CRACK THE WAX IF YOU WANT TO LEAVE DYE INTO THE CRACKS
THREE

I PAINTED IN THE DYE AS THERE IS SO LITTLE AREA TO BE DYED.
I BLED DIFFERENT DYES INTO THE PIECE.
I HAD USED NON-PERMANENT MARKER FOR THE OUTLINE WHICH BLED ALSO.

FOR THE CRACKS..I PAINTED THE DYE OVER THEM AND SCRUBBED INTO THEM WITH MY BRUSH
FOUR
sandwich the finished piece between newspaper
iron out until all the wax is gone..
keep changing the newspaper and use enough to protect your iron and board,
if the iron starts smoking..it’s because wax has transfered to the plate of the iron or it’s setting is releasing water.
FINALLY
staple all together as in earlier post.
PLACE RIBBON WHERE TELEPHONE WIRE WOULD BE.
Alternate Versions
excuse any bits and pieces sticking out..must add backing and secure tomorrow..

close up

“Lucy Homemaker”
8in embroidery round hoop
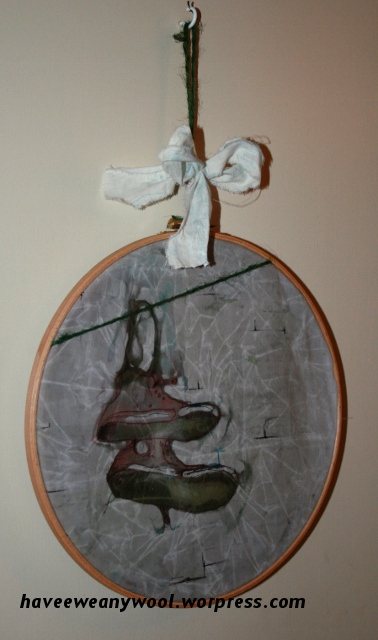

8inch embroidery hoop
“Converse”


“Blue Magpies”
6inch plastic embroidery hoop
FOUND A FANTASTIC TUTORIAL ON HOW TO MAKE THESE HOOPS SO HERE IS THE LINK
http://sunshineandcarousels.blogspot.com/2011/08/embroidery-hoop-pinboard-tutorial.html

51.897872
-8.471087


